Wall art is the finishing touch in a room that brings it to completion. Now, imagine if that wall art depicted snapshots of your life. Instead of a generic print from a department store, you have a watercolor portrait of your family’s cottage. Rather than someone else’s photo of a sunset, you have an oil painting of your beloved late pet.
No generic wall art will ever evoke the same emotional response as your photos. Here are some helpful tips for turning your photos into one-of-a-kind wall art.
Consider Your Decor Goals
Before you consider which photos you’d like turned into art, think of the space you’re trying to fill. Consider the entire room and your current decor scheme, and what type of imagery would work best. For example, you might want a family-oriented photo in your living room where everyone gathers together. Alternatively, you might want something more personal in your bedroom.
Think about your decor goals, from the color to how the piece will fit with everything else in the room. These metrics will create a framework for choosing the right photos to transform into art.
Look at the Space
Take a close look at the space you have available. Rather than creating art and trying to make it fit after the fact, take measurements, and plan for space. While you do this, look at the lighting and envision how it will impact your art. Is this a shadowy space that could benefit from some accent lighting? Does this wall catch the sun in a way that could fade the colors over time?
By looking at the space available, you can start to plan the layout of your wall. While the art might be the focal point, you can consider the other things that will support it and fit with your decor. This could be anything from other pieces of art to shadow boxes containing mementos. Think of how you can blend old and new elements together to create a unique display for your home.
Choose the Right Photo
Once you have an idea of the emotion and vibe you’re going for, it’s time to choose a photo. You can take a look at Artfrill.com and try to find a perfect picture for your taste. You have the option to select a picture that already exists or to have an image taken for this purpose. A skilled artist will be able to work with most anything, but there are some technical considerations to keep in mind.
Try to choose a clear, crisp image as the base for your art. Consider the focal point of the image, and if there’s anything that you’d like cropped out or removed when having a commission done.
In addition to the technical components of the image, think about what that photo means to you. Does it have sentimental value, or is it just beautiful to look at? Art is intended to elicit an emotional response within the viewer. What are you trying to convey?
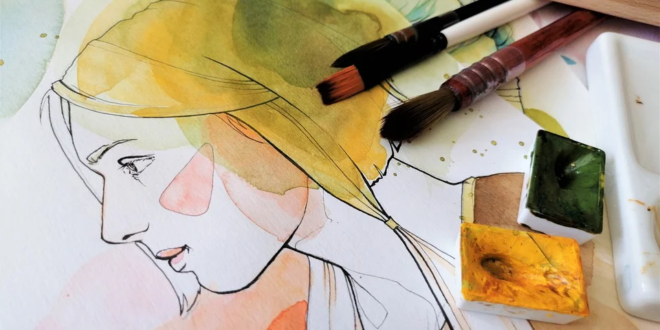
Choose the Medium that Works
Next, choose a medium that speaks to you. It might be a style of art that you like or a medium that would work well with the image you’ve chosen. Some common options include:
- mixed media
- oil paint
- acrylic paint
- charcoal
- watercolors
- pencils (color or grayscale)
The medium should be in alignment with the rest of the room and be able to highlight the key features of the picture. For example, a charcoal drawing might look stunning, but it won’t capture the colors of a sunset over the hills.
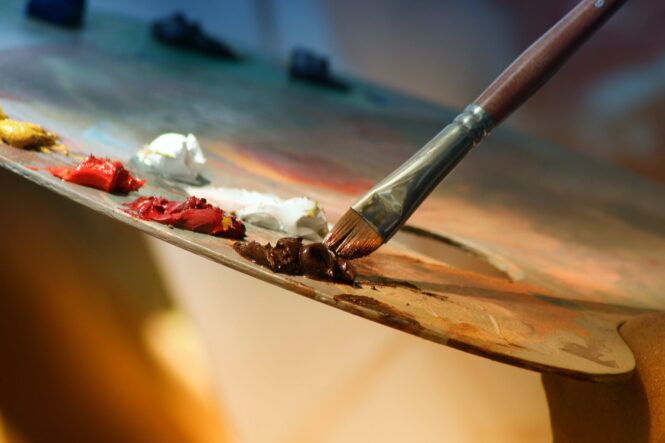
Choose the Right Service
There are plenty of talented artists in the world, but they might not be right for your image. Take some time to look for artists who specialize in the medium that you’ve chosen and have other examples of photo recreations that you can view in advance. Look at samples of their work and start a conversation with them. It’s important to feel a connection with the work they do and feel comfortable discussing this project. Remember that bespoke artwork comes at a cost and you’re paying for someone’s experience and talent that you lack yourself. Be respectful and don’t try to nickel and dime them.
Services like Instapainting bring specialized artists together to create pieces of art based on photos. You can try Instapainting.com today to see if there’s an artist that suits your needs.
Think Size and Shape

Finally, consider the size and shape of your piece. Base your decision on the space you’re trying to fill, as well as the content of the image. A landscape-oriented piece might fit an open wall better than a portrait-oriented piece. A photo of a tall, majestic waterfall might look better in a rectangle painting than a square.
You also have an opportunity to get creative. Consider ordering a painting that’s broken up over multiple pieces, like a triptych. You could have an image of your favorite scene broken into four parts to represent the changing season. When it comes to art, the options are endless.
Tips for Displaying Your Art
The way you arrange and display your art can enhance the look and add an extra special design element. Think of alternative ways to display your art, aside from putting a nail in the wall and calling it a day. For example, you could install a floating shelf and lean the art against the wall, adding accessories that complete the look.
You can also use various types of hangers as an alternative to nails when displaying your art. Add your canvas to a rod and string for a boho-inspired look or use string lights with clips to illuminate your feature.
Consider the frame you choose as well, as this will play a pivotal role in how the piece looks when displayed. If you go frameless, take extra precautions to protect your piece from damage.
Turning your photos into wall art is a great way to get a unique piece of art in your home and convey your family’s personality and decorative flair.